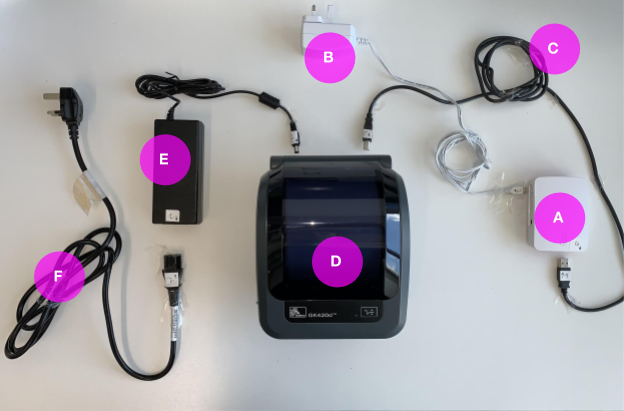
What you should you get in the printer box.
1x A: White and red box. This is the printing assistant device.
1x B: White power cable
1x C: Grey cable
1x D: Printer with a roll of labels inside
1x E: Black power brick
1x F: Black kettle power lead
It might include:
1x G (not pictured): White long rectangular USB device used to connect the printing assistant device to the internet wirelessly
Or
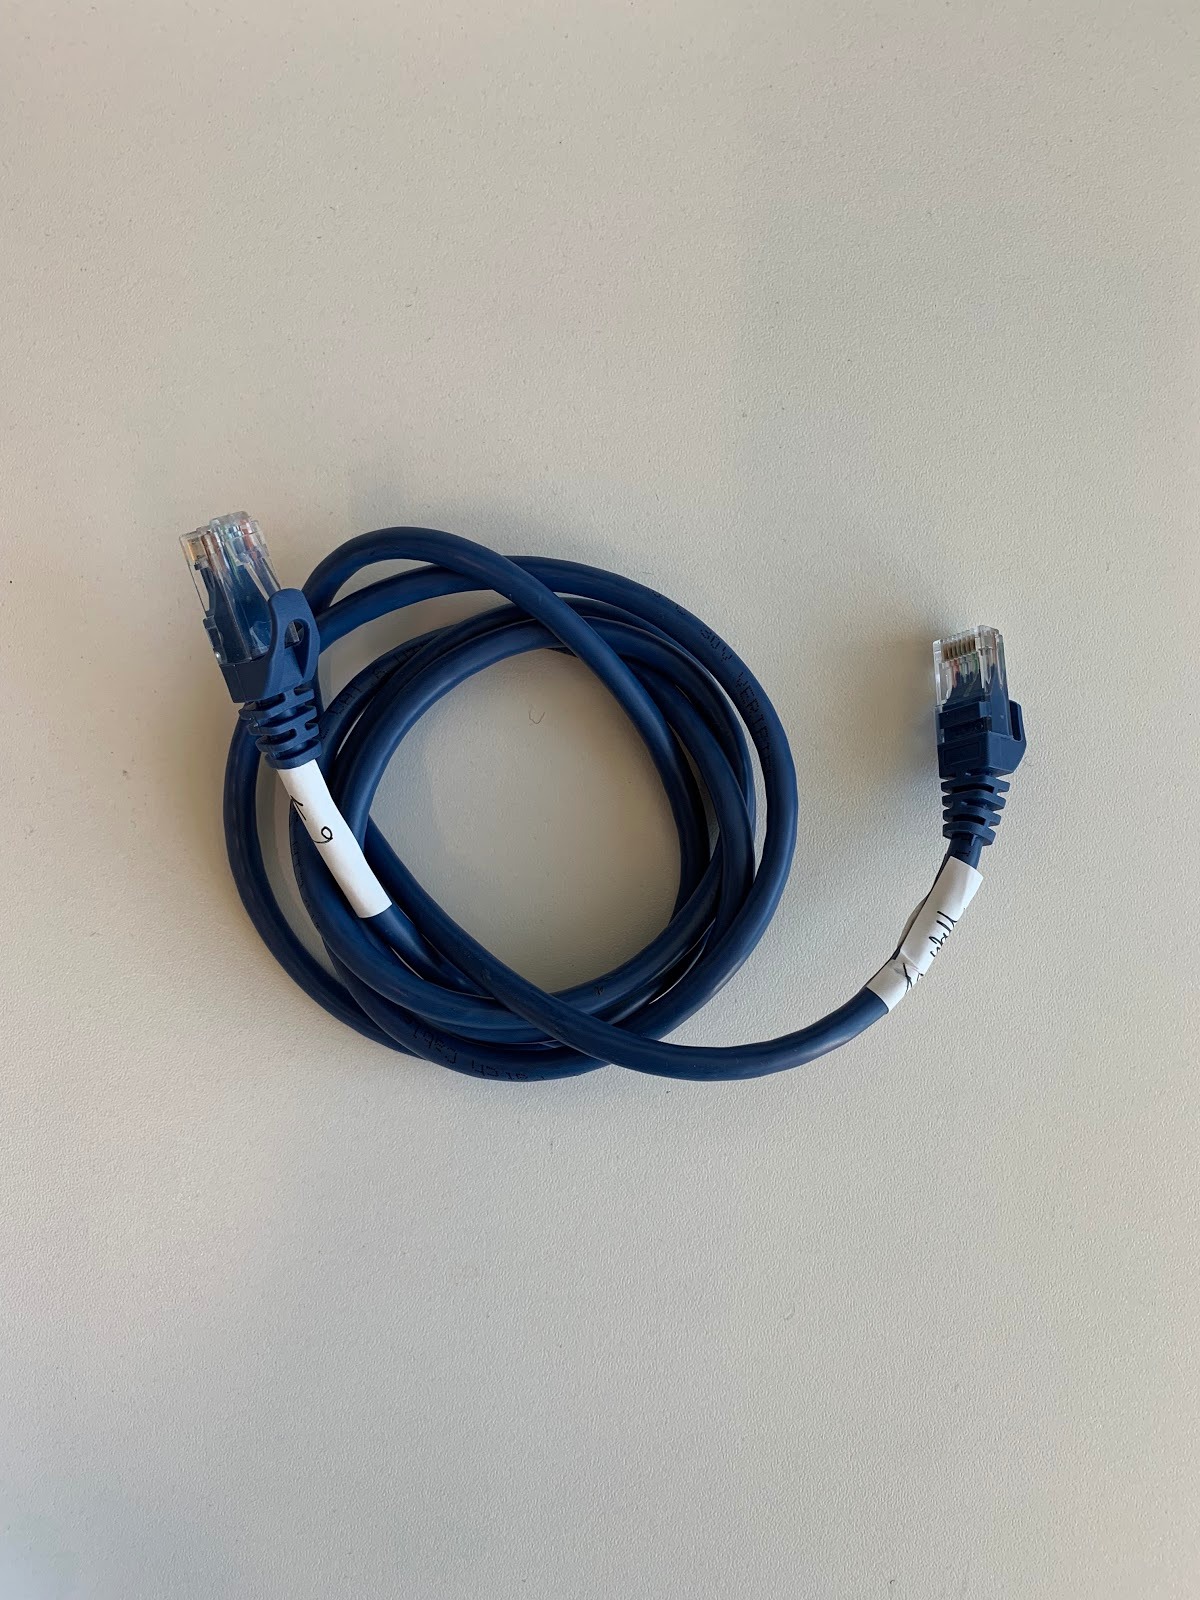
1x H (pictured below): Ethernet cable to connect the printing assistant device to the internet via an ethernet internet socket
These are the stages to set up the devices:
To set up, we’ll connect the printer first, and then the printing assistant device.
Connecting the Printer
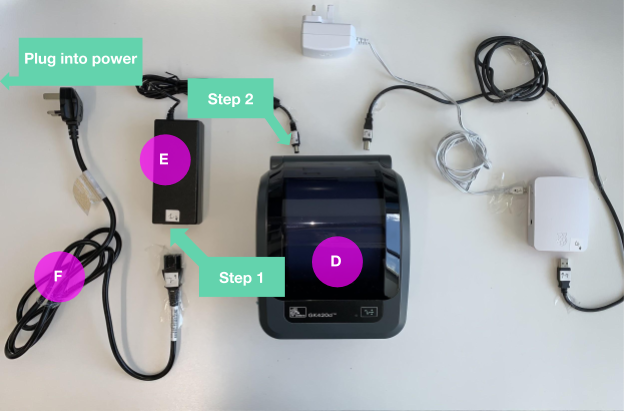
1. Plug F, the black lead, into E, the black power brick
2. Plug E, the black power brick, into D, the printer
Power up! Now plug the F, the black lead, into a wall power socket.
On the next page we’ll set up the printing assistant device.
Connecting the Printing Assistant Device
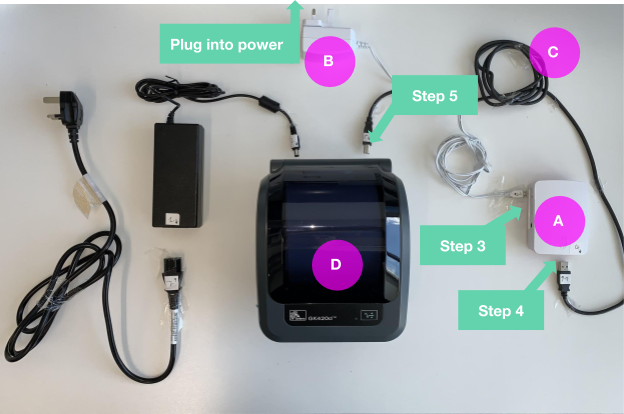 3. Plug B, the white power cable, into A, the printing assistant device (the white and red box).
4. Now plug in the flatter end of C, the gray cable, into A, the printing assistant device.
5. Now plug the squarer end of the same cable, C, into D, the printer.
If you have G, a white long rectangular device, then plug this into A.
Or
If you have H, an ethernet cable, plug this into A and then into an ethernet internet wall socket.
Then plug the white power plug into a wall power socket and that's it!
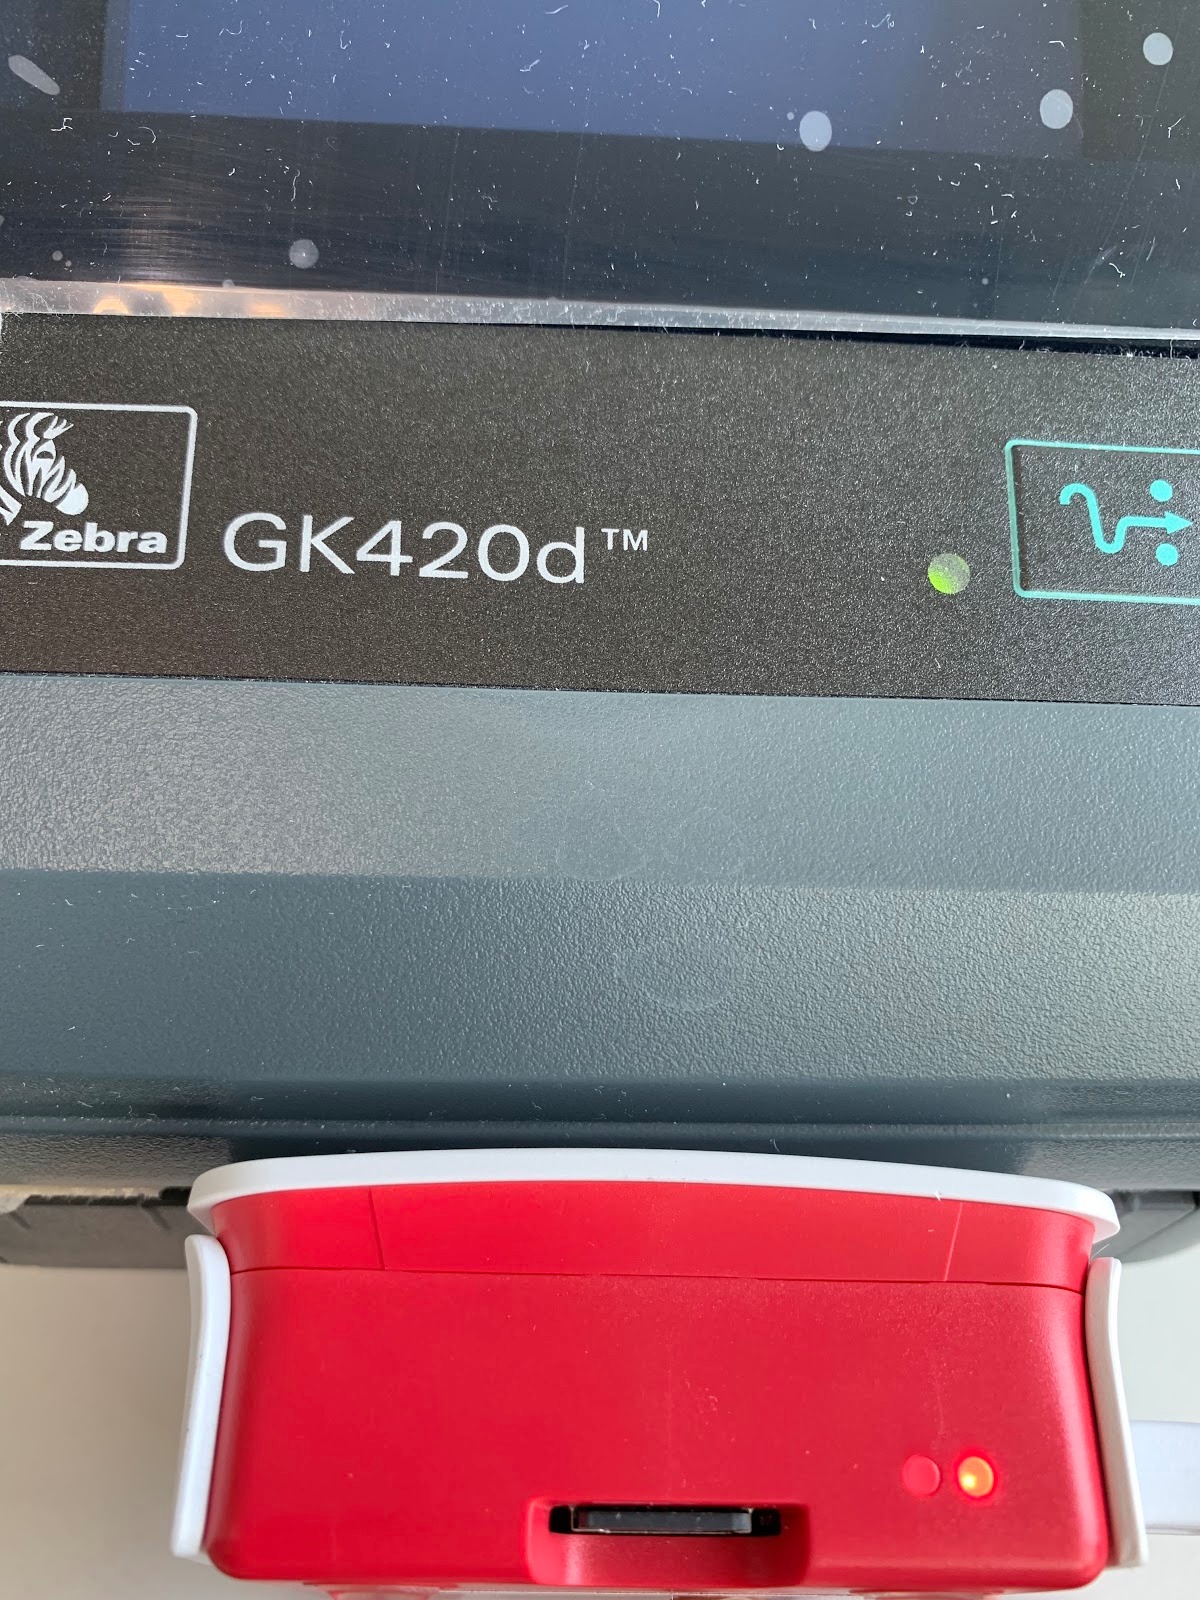
The printing assistant device should now have a light illuminated on the side of the device, and the printer should have a green light illuminated on the front. This indicates the setup was successful.